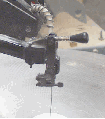
Types of Blade Tension
On the old saws like the New Rogers the tension was set with the wingnut at the rear of the top arm. It took many turns of the wingnut to loosen the arm then clamp in the blade, and tighten the wingnut til the blade was tight.
The Delta 15" and many other saws still use this same principle today. This is a slow and somewhat awkward setup as you need to reach to the back of the arm to accomplish it. Now the up front tension is widely used.
 

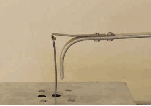
The early saws with the pin type blades used just a spring steel top holder to apply the tension. The spring holder automatically adjusted it, but it was not always the right tension for the job.


The early rigid arm saws used a coil spring to adjust the tension. The tube that held the spring was adjustable up and down to make the amount of tension adjustable. 
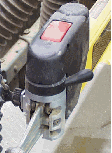
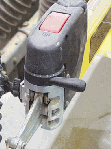
The Dewalt uses a lever at the front of the saw for tension. The lever is opened ( left photo ) and the blade is inserted into the clamp, then the lever is pulled around to the left ( right photo ) to apply tension. There is a numbered scale to help in applying the same tension each time.
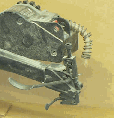
The first Delta Q3 used a similar type system of open and closed lever for the tension. The screw at the top of the clamp was used to set the amount of tension, and the lever just allowed tension or no tension.
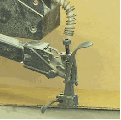
The Improved Q3 tension setup is a little different than the original. The lever is screwed in or out to adjust the amount of tension. Then the lever allows either tension or no tension.
The Delta 16" uses the same principle.The lever is used for tension or no tension. The knob above on the arm adjusts the amount of tension.